Going Live Checklist
Before going live, ensure that all required steps are completed to securely and accurately integrate with our production environment. Here’s a step-by-step checklist for a smooth transition:
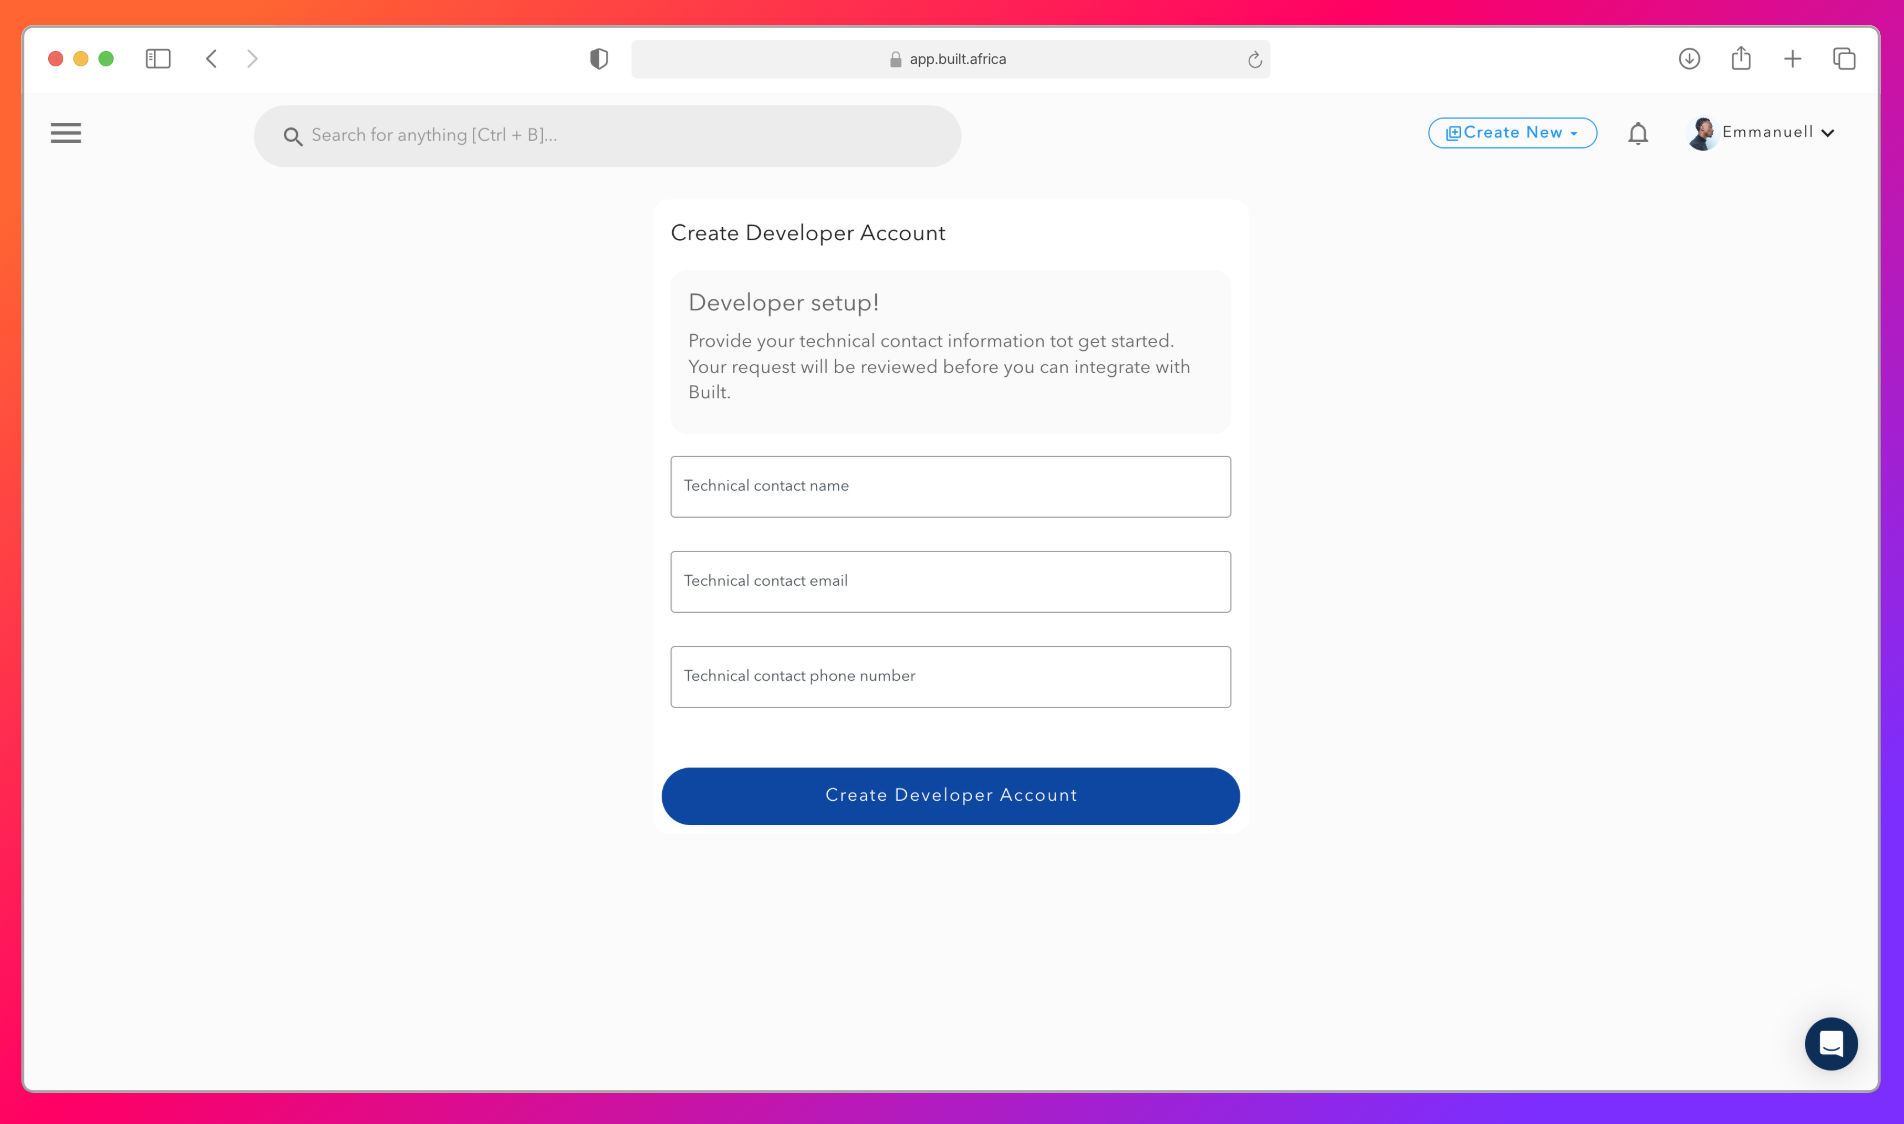
- Create Developer Account on Production:
Start by creating a developer account specifically for the production environment. Go to the app then head over to the developer console. Create your account by providing all necessary information for verification. This production account will be distinct from any sandbox or testing accounts to maintain data separation and production-level security.
- Wait for Approval
Once you’ve registered, your account will be subject to an approval process. This process ensures that all production applications meet our security and compliance standards. During this period:
Our team will review your account details.
You may be contacted to provide additional information if required.
Note: Approval times may vary, but you will receive an email notification once your account is approved.
- Create a Production Access Token
Upon approval, you can create an access token for the production environment:
Log in to your production developer account.
Navigate to the API Access section.
Select Generate Access Token to create a token for the production environment.
Each token is unique to a business and can be managed independently to match your production needs. Ensure you copy and securely store the token, as you’ll need it for all live API calls.
Read more about authentication here
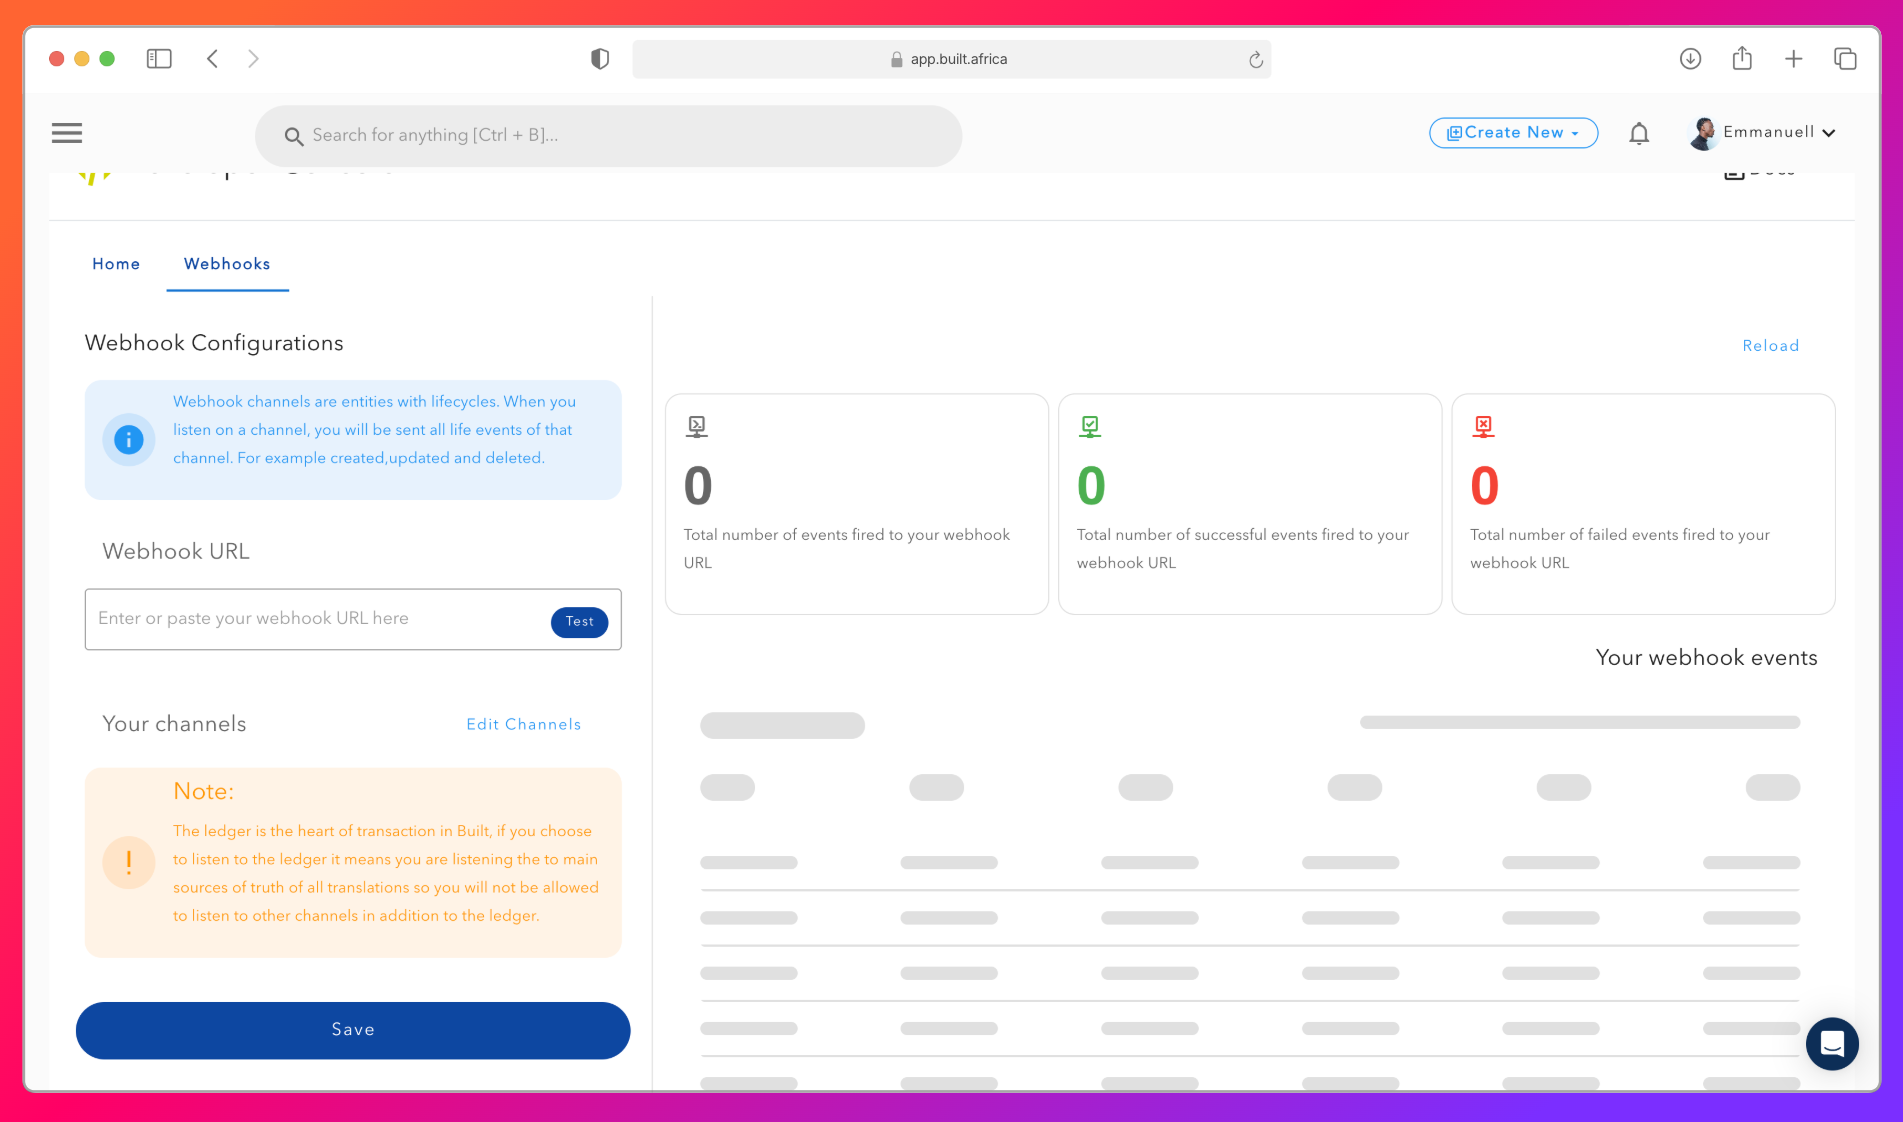
- Create Webhooks (if applicable)
If your application requires real-time notifications, set up webhooks:
Go to the Webhooks section in your developer portal.
Define webhook endpoint that your application will listen to in production. Common events invoices, bills etc.
Test your webhook endpoints in the sandbox environment before switching them to production.
Example To Setup Webhook:
Read more about webhooks here
- Switch from Staging URL to Production URL in Code
To transition your application from staging to production, replace all instances of the sandbox URL with the production URL:
Sandbox URL: https://web-test.built.africa
Production URL: https://web.built.africa
Example Update in Code:
js// Before going live
const baseURL = "https://web-test.built.africa";
// After switching to production
const baseURL = "https://web.built.africa";
Note: Double-check every endpoint URL to ensure all requests point to the production environment.
- Use the Production Access Token
Finally, replace your sandbox access token with the production token generated in Step 3. This token will authenticate all requests in the production environment.
Example Request with Production Token:
jsconst axios = require('axios');
const PROD_ACCESS_TOKEN = 'YOUR_PRODUCTION_ACCESS_TOKEN';
axios.get('/api/invoices', {
{
headers: {
accept: "application/json",
authorization: `Bearer ${PROD_ACCESS_TOKEN}`,
"content-type": "application/json",
},
}
});
Ensure the production token is securely stored and managed, such as in environment variables, to avoid accidental exposure.